Steps to Create a Page
-
Log in to WordPress Admin
Go to:yourdomain.com/wp-admin -
Navigate to Pages → Add New
-
Enter Page Title
Example:Home,About Us,Contact, etc.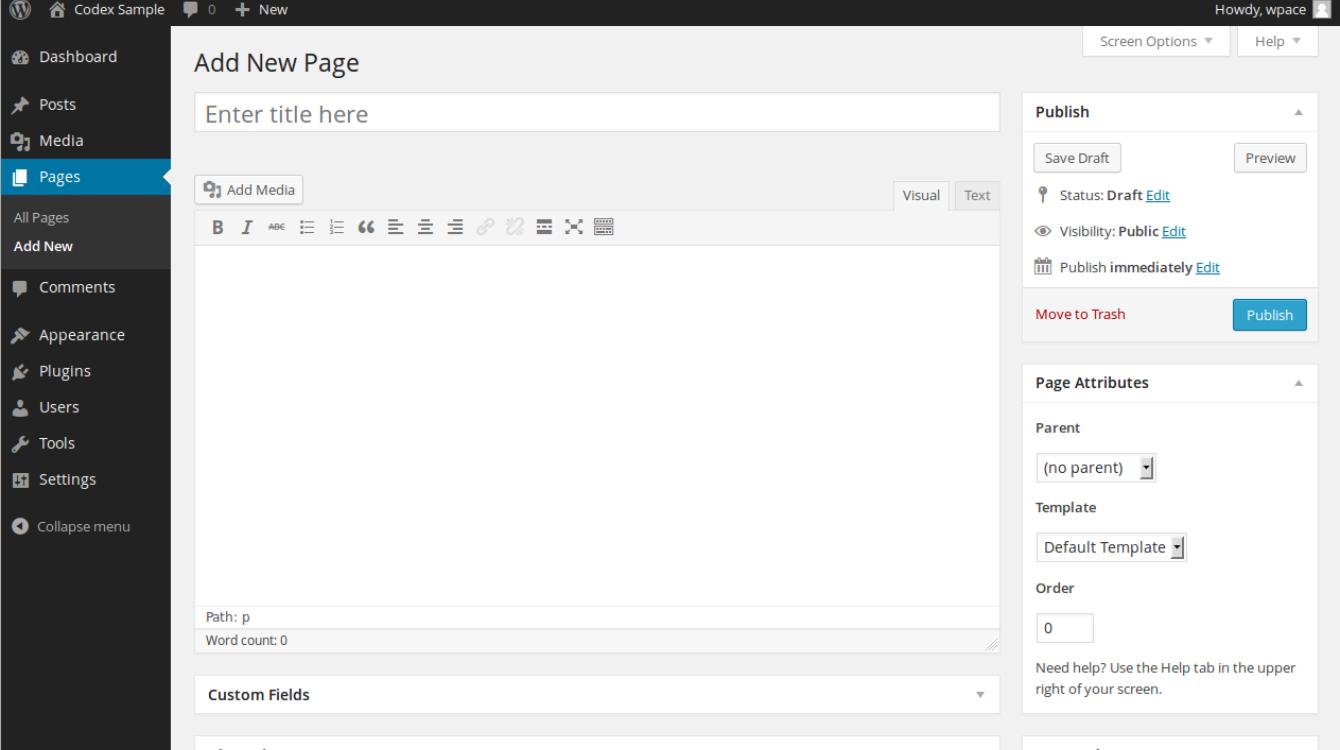
-
Add Content Using the Block Editor
-
Use paragraph blocks for text
-
Image block for visuals
-
Heading blocks to structure content
-
Add a contact form (using a plugin like WPForms)
-
-
Customize Page Layout (Optional)
If using a page builder like Elementor, you can launch it and design visually. -
Publish Your Page
-
Use “Preview” to review
- Click “Publish” to make it live
-
Common Static Pages to Include
-
Home – Welcoming and highlights your brand/services
-
About – Who you are and your mission
-
Services/Portfolio – What you do or projects you’ve done
-
Blog – (If you write articles)
-
Contact – Form, location, social media, etc.
-
Privacy Policy / Terms – Legal information
Creating a New Blog Post
-
Log in to your WordPress Dashboard
Visit:yourdomain.com/wp-admin -
Navigate to Posts → Add New
This opens the WordPress block editor (also called Gutenberg).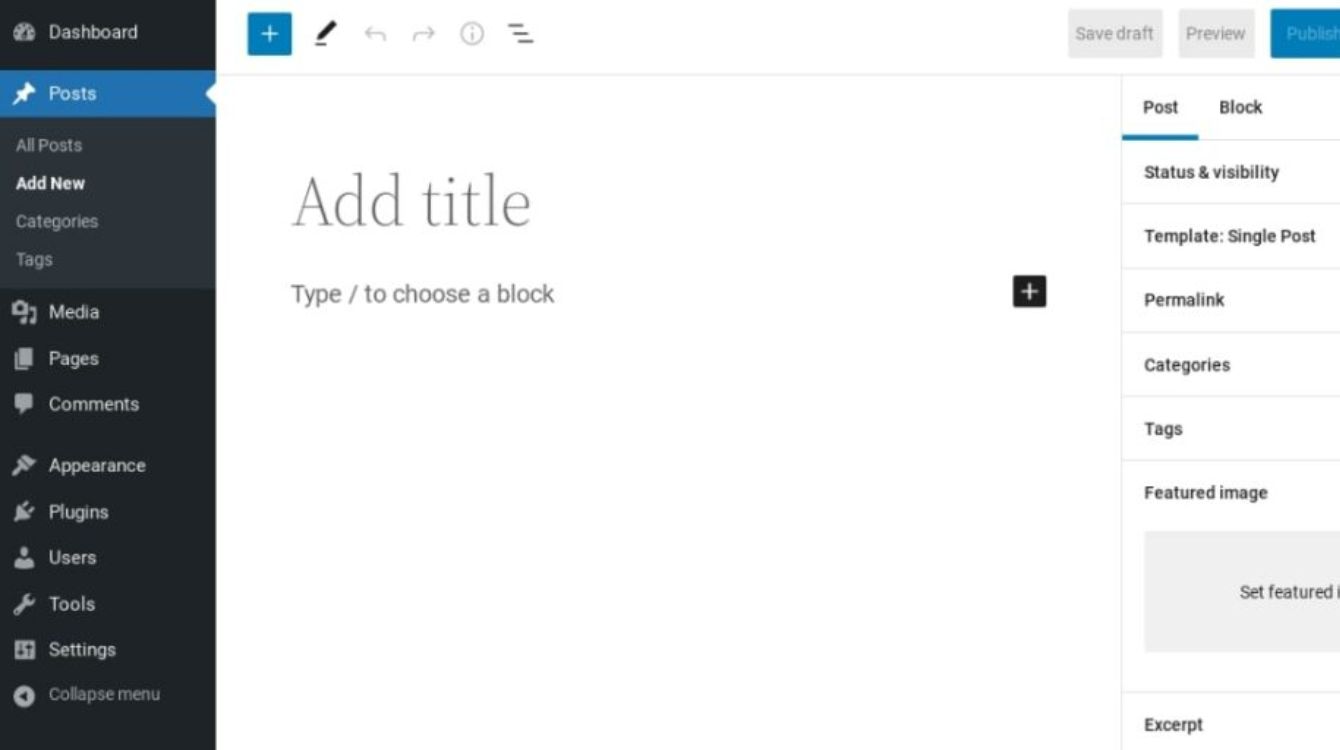
-
Add Your Title and Content
-
Enter a catchy title at the top.
-
Use blocks for text, images, videos, quotes, etc.
-
Add headings for better structure (H2, H3, etc.).
-
-
Add Categories and Tags
-
Categories = broad topics (e.g., “Travel”, “Tech”)
-
Tags = specific topics/keywords (e.g., “Italy”, “Gadgets”)
-
-
Set a Featured Image
This image will appear as the post thumbnail across your site. -
Save as Draft or Publish
-
Click “Save Draft” to continue later.
-
Click “Preview” to see how it looks.
-
Click “Publish” when you’re ready to go live!
-